RAW quickstart
Capture the audio, render the de-reverb, read the map, dial the reduction, take it out — RAW's five real steps.
What RAW is
RAW strips reverb off a recording — vocals, instruments, whole takes — and then cleans up what the room left behind. It runs as AU, VST3 or a standalone app. The processing is offline and local: the model runs on your machine, nothing is uploaded, and nothing touches your realtime path.
Your first clean
Get the audio in
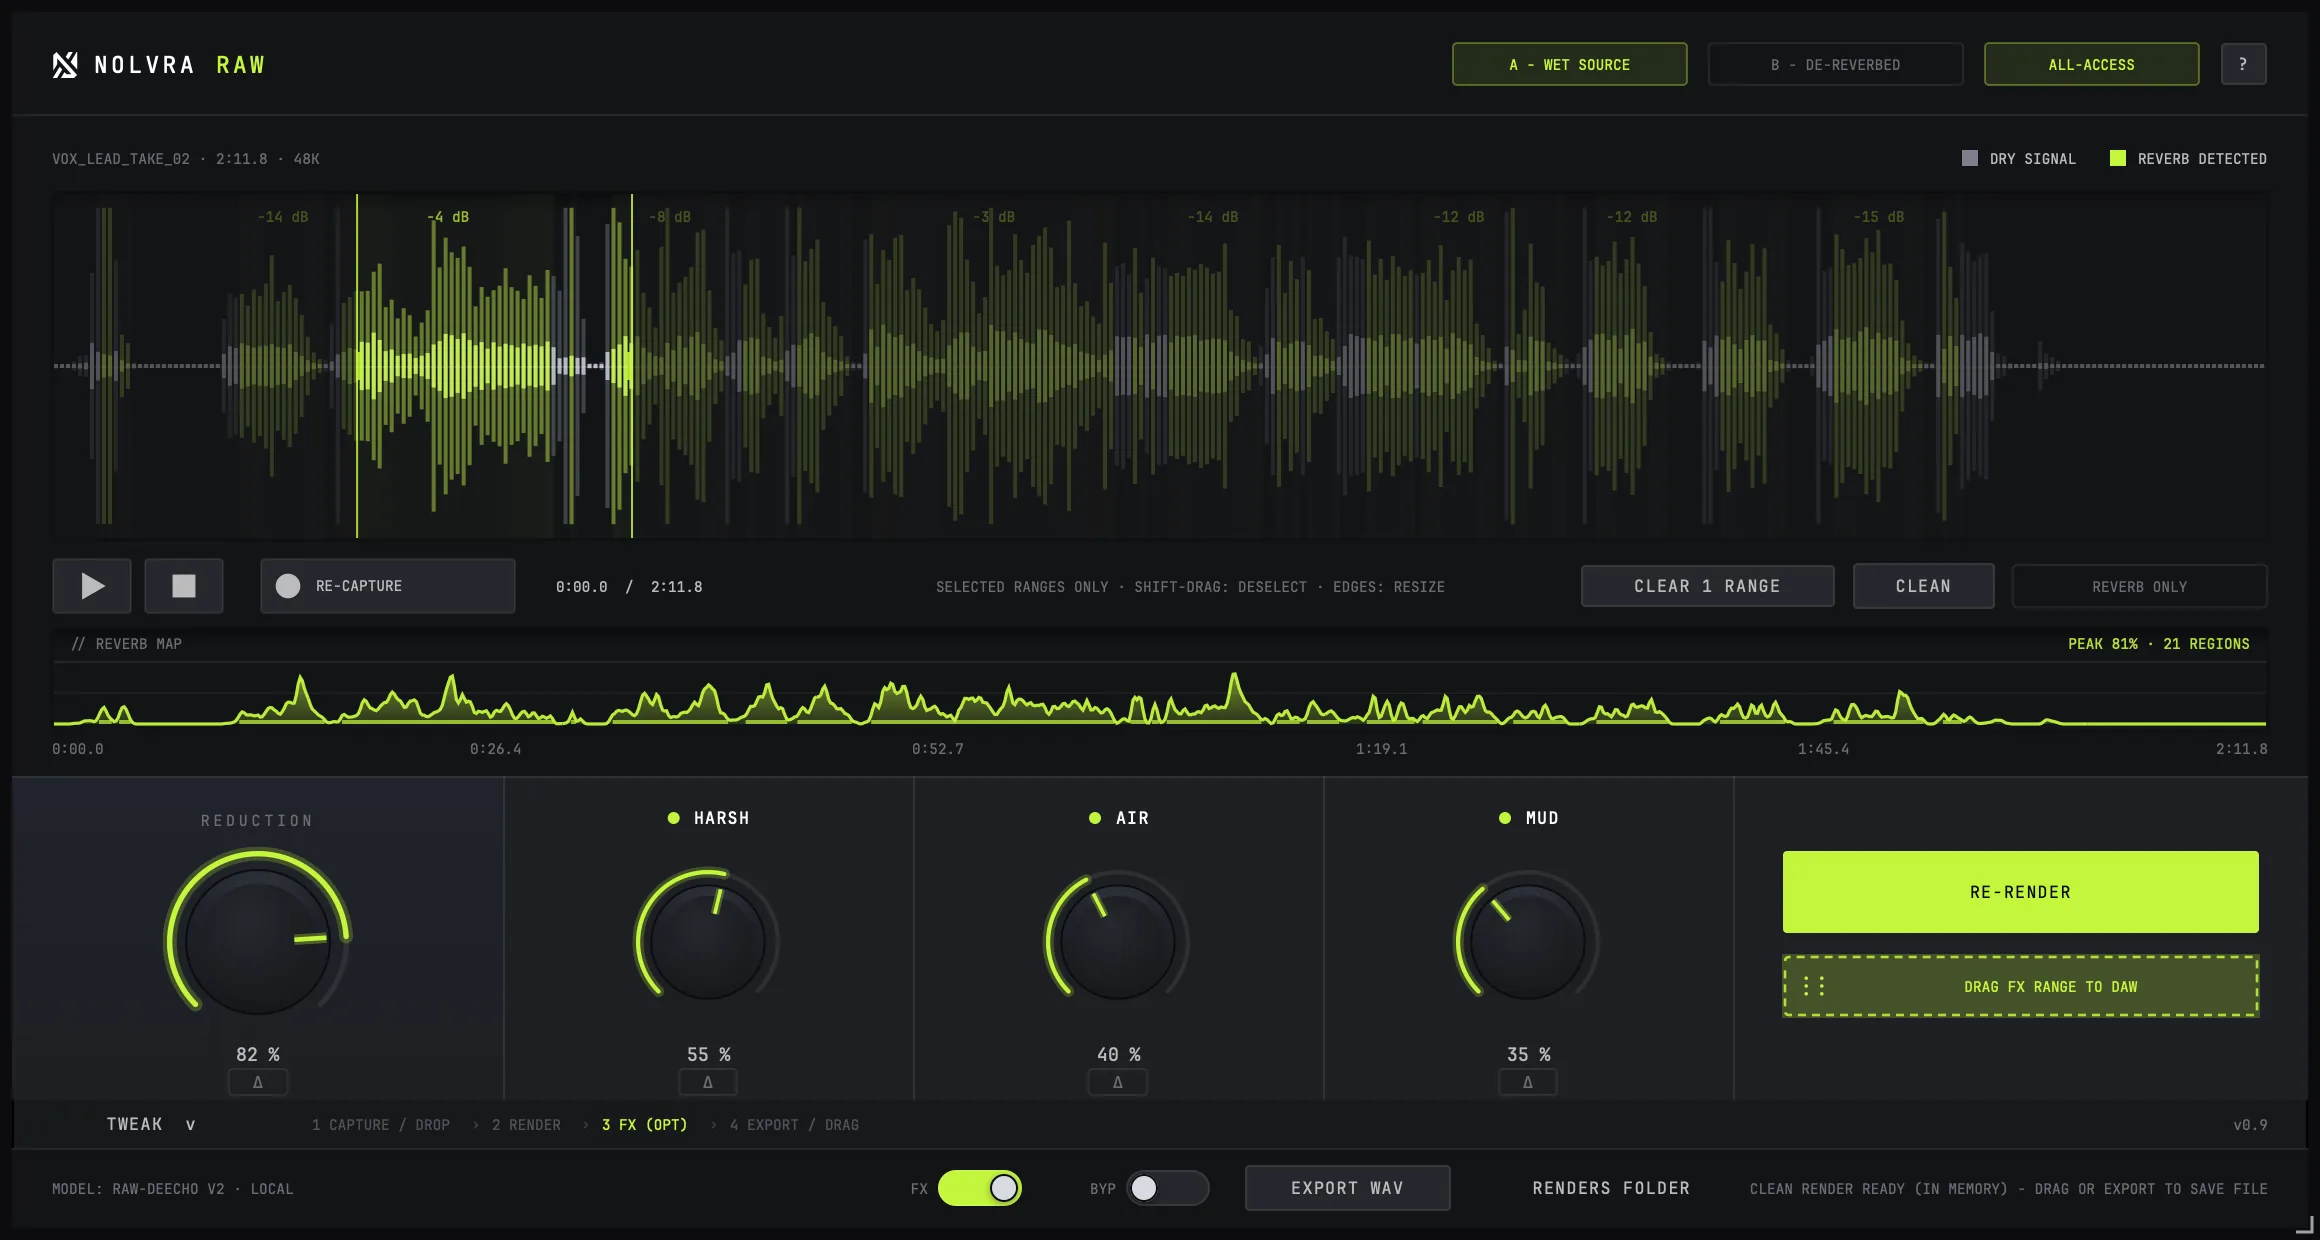
Hit CAPTURE and play your DAW to record the part you want cleaned — or just drop a WAV anywhere on the window. Nothing existing is deleted until the first sample of the new capture actually arrives.
Select a range, if you want one
Drag on the waveform to select. With a range selected, only that range is processed; everything outside it is left untouched. With nothing selected, the whole capture is processed.
Render
RENDER runs the de-reverb model over the capture, offline. The button itself becomes the progress bar. When it finishes it turns into RE-RENDER, so trying a different range costs one click.
Read the reverb map
The strip under the waveform is the REVERB MAP: it shows how much reverb the model actually pulled out, moment by moment. The lime bands on the wave are the regions it found. This is measurement, not a guess — it tells you where the problem actually is.
Dial the reduction
REDUCTION mixes how much of that removal you keep: all the way clean, or a touch of the room left in. Its delta chip auditions the reverb the knob is currently taking out, which is the fastest way to hear whether you have gone too far.
Take it out
Drag the DRAG OUT chip straight into your DAW, or use EXPORT WAV. Files land in ~/Music/Nolvra/RAW Renders — never a temp folder, never overwritten.


HARSH, AIR and MUD come after
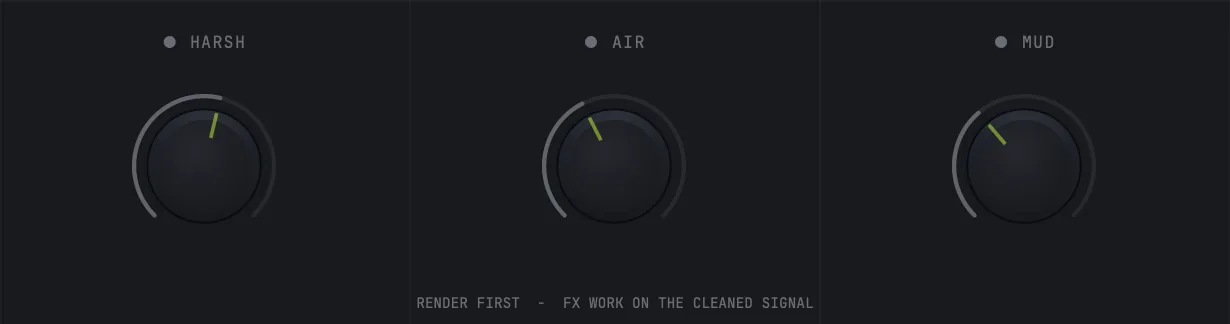
The three cleanup controls unlock after the first render. That order is deliberate: they clean up what the de-reverb left behind, so they only mean something once there is a rendered result to work on. They live in the TWEAK drawer and are covered in the controls article.
The model downloads once
RAW's de-reverb model is not bundled with the plugin — the first time you need it, you press DOWNLOAD MODEL and it is fetched, verified and cached. It is never downloaded silently or automatically. After that first fetch, RAW works with no network at all.
Analysis and the transport
RAW's analysis runs when the transport stops. If the reverb map looks empty while your DAW is still rolling, stop playback and it will fill — nothing is broken.

The in-plugin tour
The ? button in the top bar reopens RAW's five-step tour at any time. The tour advances on results, not just clicks: drop a WAV without ever pressing CAPTURE and it still moves on, because the thing it was waiting for happened.
Still stuck?
Nothing here matching? Write to a person.