RAW workflows
Cleaning a vocal cut in a bad room, rescuing a sample drowned in someone else's reverb, and treating only the parts of a take that need it.
Range selection is the workflow
The single thing that separates a good RAW result from a blunt one is that you do not have to treat the whole take. The reverb map shows where the room actually is, and a selected range is the only part that gets processed. Most sessions are three or four small selections, not one big render.

A vocal cut in a bad room
Capture the take
Hit CAPTURE and play the part through, or drop the WAV straight onto the window.
Render once, wide
Render the whole capture first with nothing selected. You are not committing: you are getting the reverb map filled in so you can see where the problem lives.
Read the map
The lime bands are where the model found reverb. On a home-recorded vocal these usually cluster at the ends of phrases, where the tail rings into the gap, rather than under the words themselves.
Re-render the ranges that matter
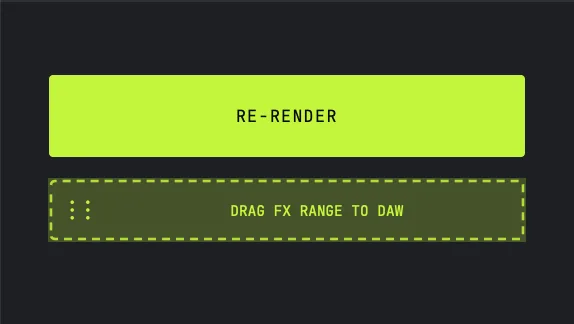
Select the bands you actually want treated and hit RE-RENDER. The rest of the take keeps its natural body.
Back REDUCTION off
Take it down from full until the vocal stops sounding boxed-in-a-vacuum. On a close-mic'd take you are usually not at 1.0.
Fix what the removal exposed
Turn the FX section on. HARSH first if the top has gone glassy, then AIR to put back the brightness the reverb removal took with it, then MUD only if the low-mids have become boxy.
Drag it out
DRAG OUT to your DAW, or EXPORT WAV. What you hear with FX on is what gets written.

A sample drowned in someone else's reverb
Drop the file in
Drag the WAV onto the window. There is nothing to record.
Select the phrase, not the file
Loops and one-shots rarely need a full-file render. Select the section you are actually flipping.
Push REDUCTION further than you would on a vocal
A sample is going to sit under drums and be processed further; a small amount of leftover room that would be fine on a lead vocal will smear once it is pitched and layered. This is the case where full removal is often correct.
Use the delta chip to check
The delta plays what you are removing. If you can hear the sample's own tone in the delta rather than just room, you have gone past the reverb and into the source.

When the map looks empty
The analysis runs when the transport stops. If your DAW is still rolling, the map has nothing to show yet. Stop playback and it fills.
An empty map after a completed render on stopped transport means something else: the model did not find significant reverb. That happens on already-dry sources, and it is a real answer, not a failure.
Working non-destructively
Nothing RAW writes overwrites anything. Every render lands as its own file in ~/Music/Nolvra/RAW Renders, so trying three different reduction settings gives you three files to compare rather than one you have to redo.
The CLEAN button has an UNDO CLEAN state, and Cmd-Z works, so you can back out of a step without recapturing.
Still stuck?
Nothing here matching? Write to a person.